Reference: PVE100150FRAGILE
Adhesive label 100x150mm - FRAGILE Handle with care 1pc.
- The sticker is intended for marking packages
- Warning about the fragile contents of the package
- International icon FRAGILE
- The price is for 1 pc.
Reference: PVE100150FRAGILE
Reference: F0201_150/150/100B11R
Reference: F0201_150/150/69B11R
Reference: IND3717REDNB
Reference: PVE100150STIKLAS


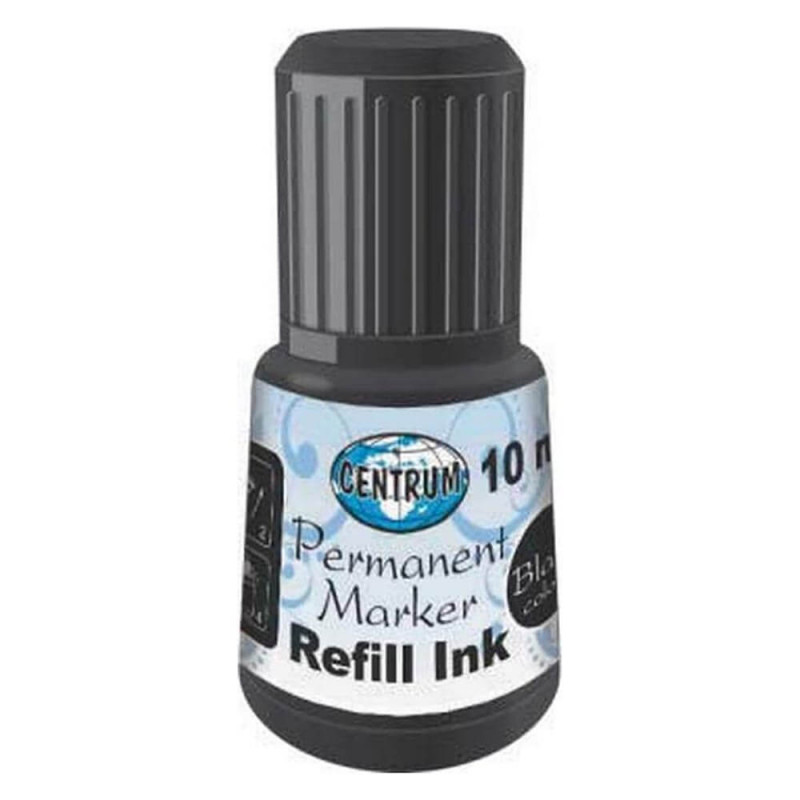
Refilling an Existing Permanent Marker
Materials Needed:
Steps:
Tips and Precautions
By following these steps, you can either refill your existing permanent markers or create custom ones as needed.
Reference: 80466_CEN
Reference: 80534_CEN
Reference: 88051_CEN